Ever wondered the difference between baking powder and baking soda? How do you know when to use which?
Here’s a little food science 101 for you. Baking soda should be used in recipes that also have an acid added to it. When baking soda comes in contact with an acid like lemon juice, vinegar, or buttermilk (which is really just milk + an acid) it becomes activated, giving off gas bubbles or air in a chemical reaction. This helps add air, fluffiness, and lightness to your batter. As with both baking powder and baking soda, that doesn’t mean you can just add a ton to your batter and it will rise a ton. They are both very basic (as in basic or acidic) and adding too much will add an undesirable soapy taste to your dish.
Now the downside to baking soda, is once that reaction happens when the acid meets the baking soda, it’s over. No more bubbles. So you can’t sit around and twiddle your thumbs once they mix. You have to get the batter cooking as soon as you can. Otherwise it won’t rise as much. Also, if there’s no acid in your batter, the baking soda won’t have anything to react with and you might as well have left it out.
Baking powder on the other hand is activated when coming in contact with any liquid. It’s also “double-acting” which means it will react first when coming in contact with a liquid, and second when it comes in contact with heat (like inside your oven). Therefore, it’s much more “stable” (and fool-proof if you ask me) for baking. Isn’t chemistry is awesome?
You’ll see in this recipe I used baking powder. Because there’s lemon juice (an acid) in this recipe though, I could have used baking soda. My baking soda, however, was severely out of date. Expired baking powder or baking soda won’t produce much of a reaction. So check your dates before you bake.
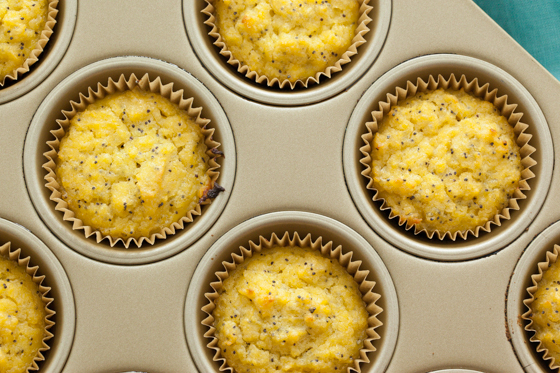
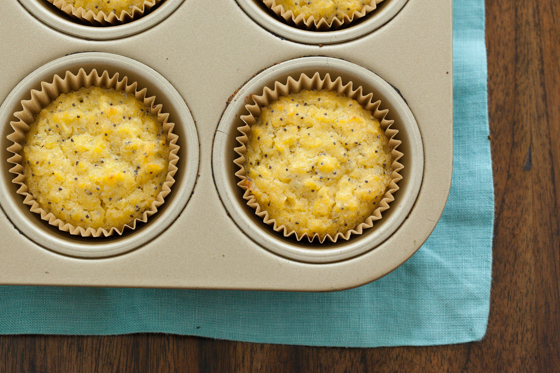
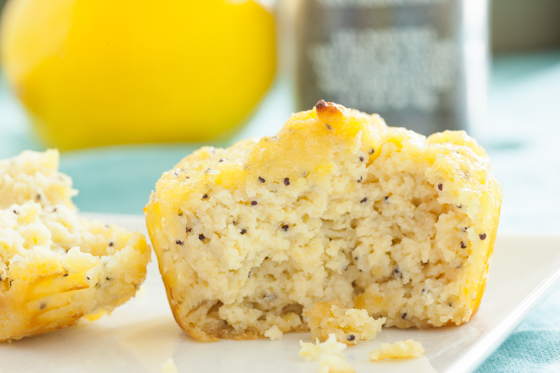
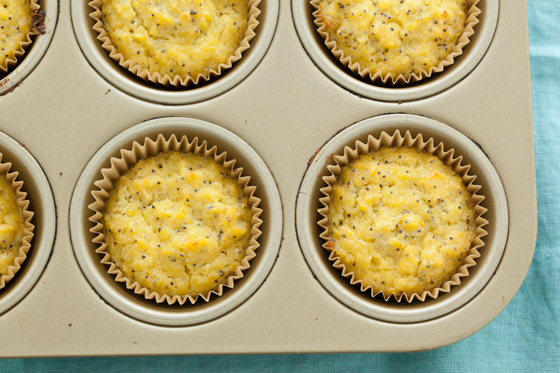
Notes about this recipe: as with any gluten-free baking, baking is science and gluten is the king. Gluten behaves in so many ways that just can’t yet be emulated without it. So don’t expect giant fluffy muffins billowing over the top of the pan. Don’t doubt for a second this recipe because I’m telling you these are delicious: light, lemony, tart, sweet, soft, and crumbly. If you’ve never baked gluten-free before, I’m just managing your expectations: don’t expect your standard muffin.
Butter isn’t truly paleo since it is just cream that’s been whipped into the solid we know as butter. You can make it yourself by making whipped cream and just taking it way too far. Voila, you’ll make your own butter. And cream, or dairy, isn’t part of a strict or clean paleo diet. High-fat dairy (like butter) is however part of a primal diet. So it’s up to you. Choose butter or coconut oil – whatever works for you.
Lastly, when you prepare the wet and dry ingredients, you may think, wow that looks like a lot of wet ingredients; is this enough flour? Resist the urge to add more flour! Coconut flour is very absorbent. The 1/2 cup will quickly soak up tons of the liquid so your batter will be just fine, I promise.
- ½ cup coconut flour
- 1 teaspoon baking powder (or baking soda works in this case too)
- zest of two lemons
- 2 teaspoons poppy seeds
- ¼ teaspoon salt
- ½ cup butter, softened to room temperature (or coconut oil for clean paleo)
- ¼ cup local, raw honey
- 6 eggs, at room temperature
- ½ cup lemon juice (this was 2 small, juicy lemons for me)
- Heat your oven to 325 F.
- Grease a 12-muffin tin or line it with muffin papers.
- In a medium bowl, combine the dry ingredients: coconut flour, baking powder, zest, poppy seeds, and salt. Use a whisk to incorporate and combine well. Set aside.
- Using a mixer or hand mixer, cream butter and honey together until light and fluffy.
- Add the eggs, one at a time allowing each to incorporate before adding the next.
- Add the lemon juice. Then turn the mixer to low and add in the dry ingredients.
- Scoop ¼ cup of the mixture per muffin into the prepared muffin tin.
- Bake for 30-35 minutes. Let them cool at least 10 minutes before removing, then enjoy!
