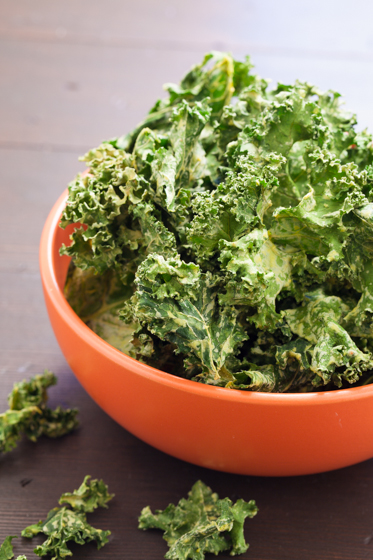
Ever miss or crave the crunch some non-paleo foods provide? These kale chips are your answer.
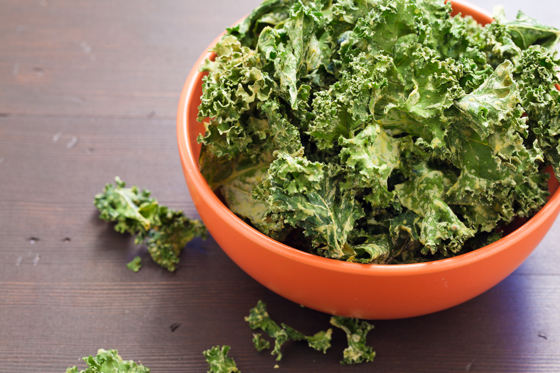
I first heard of kale chips several years ago and thought they were such a good idea! When I tried to make them I was sorely disappointed. I baked them in the oven and followed the recipe (I don’t usually follow recipes… even when I set out to, so this was a feat). Despite my diligence, they turned out terrible. Oily and burnt tasting. I tried a couple different times but gave up after a while.
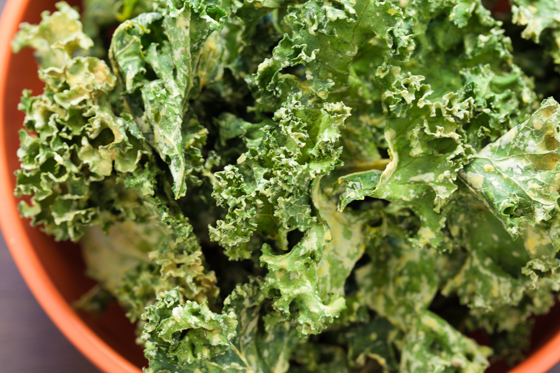
At a local farmer’s market last year I saw a booth giving kale chip samples that looked nothing like my oily half burnt/half limp kale chips. I tried them and they were crunchy, flavorful, and fantastic! Their secret? Dehydration. They didn’t bake the kale, but they dehydrated it. Being that kale chips are quite expensive, I didn’t make it a habit to buy them at the farmer’s market or the grocery store where they were popping up more and more.
So of course, I decided to make my own. Being that I like to cook, I was excited to look up some recipes and come up with my own flavors.
If you’ve never made kale chips, the process is simple. You de-stem the kale, chop or tear it into chip-sized pieces, toss with a flavor coating, and dehydrate. Voila! Kale chips. A healthy, paleo treat with that satisfying crunch.
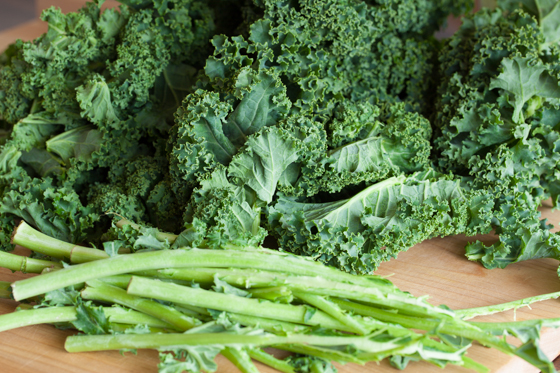
Let’s go through the kale-chip-making-process with a little more detail. First you start by removing the core of the kale, or de-stemming it. The easiest way I have found to do this is to use your index and middle finger almost as a “hook”. Starting at the bottom of the leaf, place the stem in-between your index and middle finger. Hold onto the stem with your other hand and pull the leaves off with your “hooked” fingers. So fast, so easy.
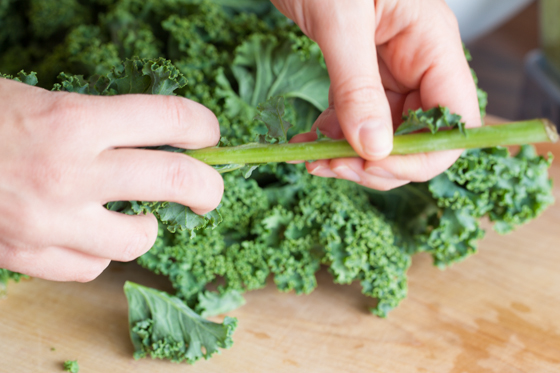
When you’re all done with that step you’ll end up with two piles: all of your leafy kale for chips and a pile of kale stems for your next batch of bone broth.
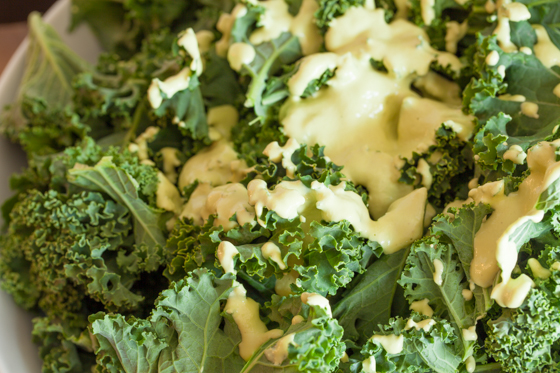
Next, blend up your puree or “sour cream and onion” seasoning for the kale chips. As shown below, pour it all over the kale in a large bowl. Then, toss it to thoroughly combine making sure you’ve massaged the puree into all crevices of the kale.
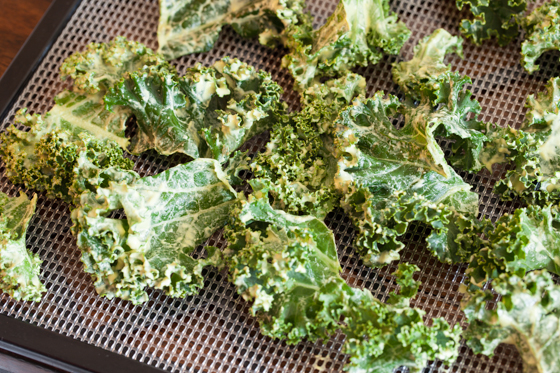
Then evenly spread the coated kale onto dehydrator sheets. Sprinkle them with some salt as desired.
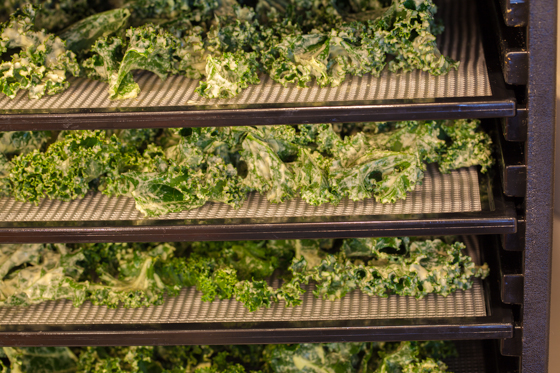
Pop the trays into the dehydrator. Set the temperature to 125 F and run it for 8 hours.
Store them in an air-tight container. They will remain crispy for at least a week… probably longer, but ours have never stayed around long enough to find out!
Additions & Substitutions. I have made these with lacinato or dino kale which is actually my favorite kale variety, but you can use any variety available. As noted in the recipe, I used pine nuts but you could use raw cashews or sunflower seeds if you’d like. Lastly, before I went paleo, I added a tablespoon or two of nutritional yeast to the puree of these. If you’re not a paleo reader, you could always add that in as well for some additional flavor. I thought I’d miss it, but I honestly didn’t miss the flavor without it!
Don’t have a dehydrator? Many ovens these days have a dehydrator setting, and this recipe would translate there as well! Just place your kale on a rack-lined baking sheet on the dehydrate setting. Check them after 4 hours since oven temps vary, but 4-8 hours should do it!
- 1 bunch of kale
- 2 tablespoons white vinegar
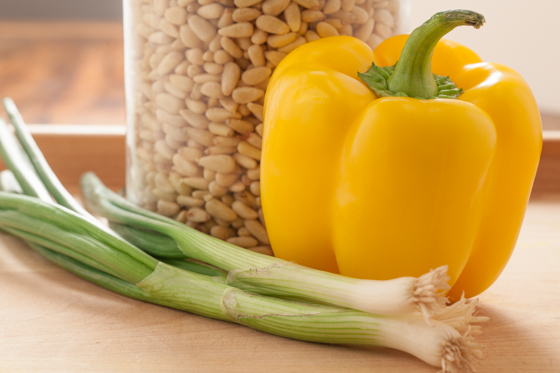
- ½ a yellow bell pepper
- 5 green onions, sliced into large pieces
- ¼ cup raw pine nuts, cashews, or sunflower seeds
- Remove the kale leaves from the stem and rip or slice leaves into chip-sized pieces.
- In a blender combine vinegar, bell pepper, green onion, and raw nuts until smooth.
- In a large bowl, combine puree and kale leaves. Massage thoroughly until kale leaves are completely coated with puree.
- Arrange leaves in one even layer on dehydrator sheets. Sprinkle with salt.
- Dehydrate at 125 F for 8 hours.



Rate, Review, & Comment